Those sleek, white marvels that deliver your favorite podcasts and playlists straight to your ears? They’re also magnets for earwax, skin oils, dust, and all sorts of microscopic hitchhikers. If you own a pair of original AirPods – or any generation, for that matter – you know the feeling: the sound starts to get a little muffled, or you notice a distinct, well, funk accumulating on the grilles. Neglecting this grime isn't just gross; it can lead to compromised sound quality, skin irritation, potential infections, and even shorten the lifespan of your beloved audio companions.
But fear not, restoring your AirPods to their pristine, clear-sounding glory is simpler than you might think. With the right tools and a gentle touch, you can ensure your "Original AirPods" – the iconic 1st and 2nd generation models – stay hygienic and perform their best for years to come. This guide will walk you through the precise, safe steps to clean and maintain not just your classic AirPods but also offer tailored advice for AirPods Pro, AirPods Max, and the 3rd and 4th generation models.
At a Glance: Essential AirPod Cleaning Takeaways
- Regularity is Key: A quick wipe-down after use, a weekly speaker brush, and a monthly deep clean keep grime at bay.
- Gentle Does It: AirPods are delicate electronics. Avoid harsh chemicals, excessive moisture, and abrasive tools.
- The Right Tools: Lint-free cloths, cotton swabs, and a soft-bristled toothbrush are your best friends.
- Avoid Bleach/Peroxide: These can damage materials and electronics. Stick to distilled water or mild soap solutions where appropriate.
- Disinfect Responsibly: 70% isopropyl alcohol wipes are fine for exterior surfaces, but keep them away from speaker meshes and knitted fabrics.
- Patience with Drying: Always ensure components are completely dry before reassembly or use to prevent electronic damage.
Why Your AirPods Need a Spa Day (Seriously)
It's easy to forget that your AirPods live in a pretty hostile environment: your ears. Every time you pop them in, they pick up a cocktail of earwax, dead skin cells, natural oils, and even sweat, especially during workouts. This accumulation isn't just unsightly; it's a breeding ground for bacteria, which can lead to ear infections or skin irritation. More immediately, this buildup is the primary culprit behind muffled audio, reduced volume, and poor microphone performance. Imagine trying to hear through a tiny, waxy veil – that's what your AirPods are doing.
Beyond hygiene and sound quality, regular cleaning directly impacts longevity. Persistent moisture or corrosive substances from sweat and earwax can degrade the materials and even penetrate the electronics over time. Taking a few minutes to properly clean your AirPods can significantly extend their life, saving you money and preserving your favorite listening experience. If you want to dive deeper into the history and specific features of the original models, check out our comprehensive guide: Everything about 1st Gen AirPods.
The Essential Toolkit: What You'll Need (and What to Avoid)
Before you begin, gather your supplies. Think of this as preparing a surgeon's tray for a delicate operation – precision and cleanliness are paramount.
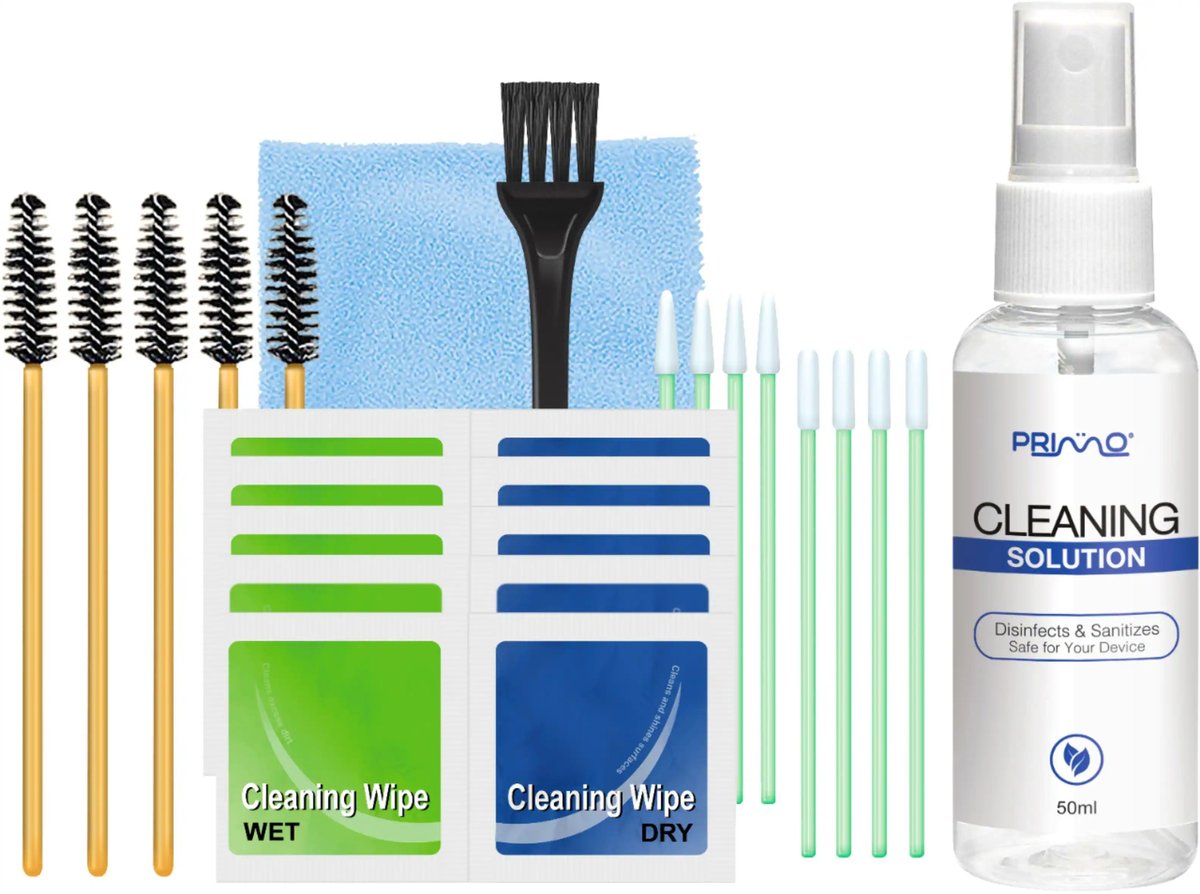
Your Cleaning Arsenal: Must-Have Tools
- Lint-Free or Microfiber Cloths: Essential for wiping down surfaces without leaving annoying fibers behind.
- Cotton Swabs: Perfect for reaching into small crevices and detailed work.
- Soft-Bristled Toothbrush: A clean, dry, children's toothbrush works wonders for dislodging earwax from speaker grilles.
- Distilled Water: Use for light dampening to avoid mineral residue from tap water.
- Mild Soap: A tiny drop of dish soap for removable ear tips or AirPods Max cushions.
- Paper Towels: For blotting and drying.
- Disinfectant Wipes (for exterior parts ONLY): 70% isopropyl alcohol wipes, 75% ethyl alcohol wipes, or Clorox Disinfecting Wipes are great for sanitizing the outer casing of your AirPods and charging case.
- Micellar Water (Specific to 3rd/4th Gen AirPods Mesh): Look for formulations containing PEG-6 Caprylic/Capric Glycerides. This is a targeted solution for a specific type of mesh found on newer models.
Products & Areas to Strictly Avoid
Using the wrong cleaner or technique can do more harm than good. Steer clear of these:
- Bleach or Hydrogen Peroxide: These chemicals are too harsh and can damage the AirPods' materials and internal components.
- Abrasive Materials: Anything that can scratch or scuff the plastic.
- Excessive Moisture: Never submerge your AirPods or charging case. Water is the enemy of electronics. Use minimal moisture, and always ensure everything is completely dry.
- Disinfectant Wipes on Delicate Meshes: Do not use alcohol or Clorox wipes on the knit mesh of AirPods Max, the ear cushion parts, or the speaker mesh of any generation of AirPods (unless specified for 3rd/4th Gen with micellar water). These can degrade the material.
- Pushing Fibers into Holes: Be careful not to force cotton fibers from swabs or cloths into speaker or microphone openings. This can cause blockages.
- Compressed Air: While tempting, the high pressure can damage internal components or push debris further inside. Avoid it.
Your Step-by-Step Guide to Sparkling Original AirPods (1st & 2nd Gen)
The original AirPods, with their hard plastic shells and lack of silicone tips, have specific cleaning needs. Here's how to tackle them:
1. External Surfaces: A Quick Wipe-Down
Start with the easiest part: the smooth outer surfaces. This removes daily oils, fingerprints, and loose debris.
- Grab a dry lint-free or microfiber cloth. Gently wipe down the entire exterior of each AirPod, including the stems and the main earbud body. Focus on areas you touch frequently.
- For Stubborn Residue: If you spot grime that won't budge with a dry cloth (like dried sweat or sticky marks), slightly dampen your cloth with distilled water. Wring it out thoroughly so it's barely damp, then gently wipe the area. Immediately follow with a dry section of the cloth to absorb any remaining moisture.
- Disinfecting (Exterior Only): For an extra layer of hygiene, you can use a 70% isopropyl alcohol wipe on the exterior plastic surfaces of your AirPods. Do not use it on the speaker mesh or charging contacts. Wipe, then let air dry briefly.
2. Speaker Mesh & Microphone Grilles: The Tricky Bits
This is where earwax loves to hide. Patience and a delicate hand are crucial here.
- The Soft-Bristled Brush Method: Take your dry, soft-bristled toothbrush. Gently brush the speaker mesh (the larger grille) and the smaller microphone grilles on the stem in circular motions. The goal is to dislodge any dried earwax or debris. You'll likely see tiny particles flaking off.
- For Very Stubborn Wax: If earwax is stubbornly caked on, breathe lightly onto the mesh. The minimal moisture from your breath can slightly soften the wax without introducing excess liquid. Immediately brush again with the dry toothbrush. Repeat this breath-and-brush technique sparingly until the wax loosens.
- Cotton Swabs for Detail: For detailed work around the edges of the speaker openings or the tiny mic grilles, use a dry cotton swab. Roll the tip gently over the area, being careful not to push fibers into the holes. You can slightly flatten the cotton swab tip to make it thinner for tighter spots.
- Patience Pays Off: Don't rush this. It's better to make several light passes than one aggressive scrub that could damage the mesh.
3. The Charging Case: Home Base Hygiene
Your AirPods' charging case protects them, but it also collects lint, dust, and even earwax that transfers from the AirPods themselves. A clean case is vital for reliable charging.
- Interior Cleaning: Use a dry cotton swab to clean the inside of the case, especially around the charging contacts (the tiny metal pins at the bottom of the AirPod recesses) and the corners where lint accumulates.
- Tight Spaces: For very tight spots or along the edges of the charging ports, you can use the edge of a folded lint-free or microfiber cloth.
- Exterior Grime: For heavier grime or sticky residue on the exterior of the charging case, you can use a slightly dampened cloth (with distilled water) or an alcohol wipe. Wipe thoroughly, then immediately dry with a clean cloth.
- Drying: Ensure the case is completely dry before reinserting your AirPods. A good tip is to leave the case open and even turn it upside down for an hour or so to allow any residual moisture to evaporate.
Diving Deeper: Cleaning Specific AirPods Models (Beyond the Original)
While the general principles of gentle, dry cleaning apply across all AirPods, newer generations and specialized models like the Pro and Max have unique components that require specific care.
AirPods Pro: Tackling Those Removable Ear Tips
AirPods Pro come with soft silicone ear tips that seal into your ear canal. These are a primary collection point for earwax and need special attention.
- Remove the Ear Tips: Gently pull the silicone tips off the AirPods Pro.
- Rinse with Water: Hold the ear tips under lukewarm running water. You can gently rub them with your fingers to dislodge any earwax or debris.
- Stubborn Wax: For any stuck earwax inside the tips, use a cotton swab dampened with water to gently clean the interior.
- Dry Thoroughly: Dry the ear tips with a lint-free cloth. Crucially, ensure they are completely dry before reattattching them to your AirPods Pro. Any moisture trapped can affect sound or even damage the AirPods.
AirPods (3rd & 4th Generation) Mesh: The Micellar Water Method
These newer AirPods feature a different type of acoustic mesh that can benefit from a specific cleaning agent for deep clogs.
- Specialized Tool: You'll need a soft-bristle brush (like a new, clean children's toothbrush) and micellar water that specifically contains PEG-6 Caprylic/Capric Glycerides. This ingredient helps break down waxy, oily residue.
- Apply and Brush: Dip your soft-bristle brush into the micellar water, just enough to dampen the bristles, not soak them. Gently brush each section of the speaker mesh on your AirPod in a circular direction for about 15 seconds.
- Blotting: Immediately blot the mesh directly onto a clean paper towel three times. This draws out the loosened grime and excess moisture.
- Rinse and Repeat: Rinse your brush thoroughly in distilled water. Then, brush all mesh sections circularly again for 15 seconds. This helps rinse away any remaining micellar water and debris.
- Final Blot & Air Dry: Blot the mesh once more on a paper towel. Then, lay your AirPods on a clean, dry surface and allow them to air dry for at least two hours before using them or placing them back in their charging case. This extended drying time is critical to prevent moisture damage.
AirPods Max: Keeping Your Over-Ear Marvels Pristine
AirPods Max, with their metal and fabric components, require a slightly different approach.
- External Surfaces: Wipe down the ear cups and headband frame with a slightly dampened lint-free cloth, followed immediately by a dry one.
- Ear Cushions and Headband: These are the most critical parts to clean due to direct skin contact.
- Remove Ear Cushions: Gently pull them off their magnetic attachment points.
- Prepare Cleaning Solution: In a small bowl, combine 1 teaspoon of mild liquid detergent (like dish soap) with 1 cup of distilled water. Stir gently.
- Wipe with Solution: Dampen a lint-free cloth with this solution, wring it out very thoroughly so it's barely damp. Gently wipe down the fabric of the ear cushions and the headband. Avoid soaking them.
- Rinse Wipe: Dampen a separate clean lint-free cloth with plain distilled water (no soap). Wring it out well and wipe the cushions and headband again to remove any soap residue.
- Dry Completely: Lay all components flat on a clean, dry surface or hang them to air dry. This might take several hours. Ensure they are absolutely 100% dry before reattaching the ear cushions or using your AirPods Max.
The Golden Rules of AirPods Care: What NOT to Do
Reiterating some crucial pitfalls to avoid:
- No Submerging: Never run AirPods or their case under water or submerge them. They are water resistant, not waterproof.
- Skip Sharp Objects: Don't use toothpicks, metal picks, or other sharp objects to clean speaker grilles. You risk puncturing the mesh or damaging components.
- Avoid Excessive Force: Be gentle. If something isn't coming off easily, reconsider your approach rather than scrubbing harder.
- Don't Rush Drying: Moisture is the enemy. Always prioritize thorough drying time. If in doubt, let it dry longer.
- No Solvents or Abrasives: Beyond the specified alcohol wipes for exteriors or micellar water for 3rd/4th Gen mesh, avoid any other cleaning chemicals, solvents, or abrasive cleaners.
Beyond Cleaning: A Maintenance Routine to Extend Life
Cleaning is just one part of the equation. A proactive maintenance routine can keep your AirPods healthy and performing optimally for longer.
- Establish a Schedule:
- After Every Use (especially workouts): A quick wipe-down of the exterior with a dry microfiber cloth.
- Weekly: Gently brush the speaker mesh of your AirPods with a dry soft-bristled toothbrush.
- Monthly (or Bi-Weekly for heavy users): Deep clean your charging case and (if applicable) remove and clean ear tips. Perform the full deep clean outlined above for your specific model.
- Proper Storage: Always store your AirPods in their charging case when not in use. This protects them from dust, lint, and physical damage, and ensures they're always charged and ready.
- Clean Ears: While you can't control earwax production entirely, keeping your ears reasonably clean can reduce the amount of wax transferred to your AirPods.
- Consider a Strap: For AirPods that don't have ear tips to help with retention, a third-party strap can be a lifesaver, preventing drops onto dirty surfaces (or worse, into toilets!). This is especially relevant for troubleshooting issues like AirPods not charging on one side due to physical damage or dirt.
- Avoid Extreme Temperatures: Don't leave your AirPods in direct sunlight on a hot dashboard or in freezing conditions, as this can degrade battery life and internal components.
Frequently Asked Questions (FAQs)
Can I use alcohol wipes on all AirPods?
You can use 70% isopropyl alcohol wipes or 75% ethyl alcohol wipes on the hard, exterior plastic surfaces of your AirPods and their charging case. However, do not use them on speaker meshes, microphone grilles, or any fabric components like the AirPods Max knit mesh or ear cushions. For 3rd/4th Gen mesh, specific micellar water is recommended.
How often should I clean my AirPods?
A quick wipe-down after each use (especially if you've been sweating) is ideal. Aim for a gentle brush of the speaker mesh weekly, and a more thorough deep clean of the AirPods and their charging case monthly. Heavy users or those with more earwax may need to clean more frequently.
What if water gets inside my AirPods?
If your AirPods get wet, immediately remove them from the case and turn them off (if possible). Dry the exterior with a lint-free cloth and leave them to air dry completely for several hours (or even a day or two) in a well-ventilated area. Do not use a hairdryer or put them in rice, as rice dust can get into openings. If they still don't work, contact Apple Support.
Why do my AirPods sound muffled after cleaning?
If sound is muffled after cleaning, double-check that you haven't pushed any debris or cotton fibers into the speaker mesh. It's also possible that moisture was introduced and hasn't fully dried. If using water, ensure the AirPods are absolutely dry. If you used the breathing method, make sure the softened wax was fully brushed away. Sometimes, a very deep-seated blockage might require professional cleaning, or it could indicate an unrelated internal issue, which might lead you to troubleshoot connectivity issues with your MacBook or other devices.
Final Thoughts: Keep Them Pristine, Keep the Music Playing
Your AirPods are an investment in your daily soundtrack, your communication, and your personal audio space. Treating them with a little care and attention through regular, safe cleaning will not only ensure they sound their best but also protect your health and extend their functional life. So, take a few moments today to give them the clean they deserve. Your ears (and your wallet) will thank you.